



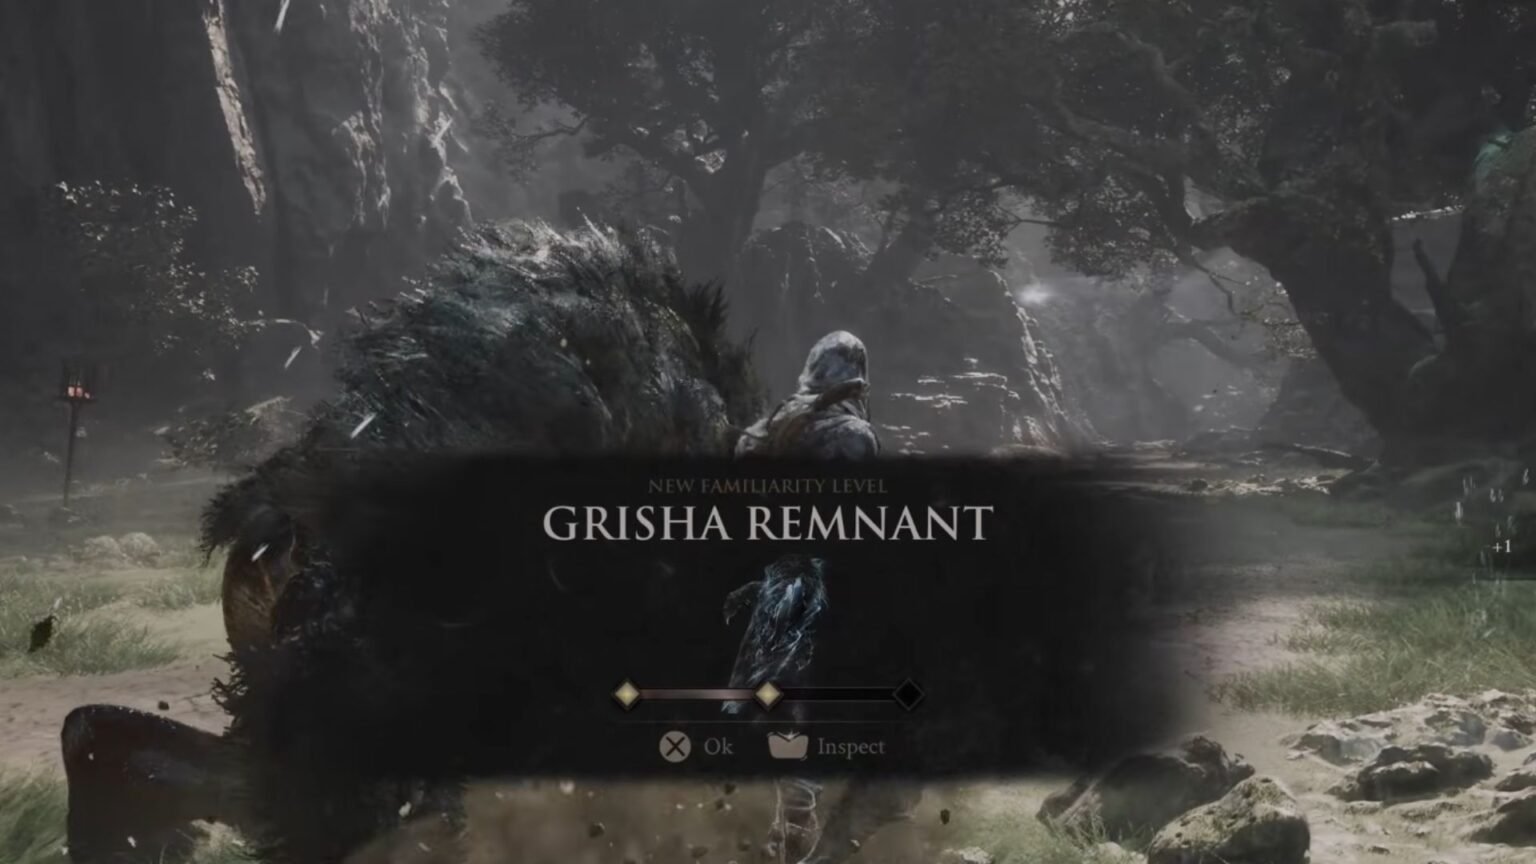

You don’t have to fight your battles alone in Mortal Shell 2, as you can summon some powerful allies to fight alongside. If you are in awe of the raw power of Grishas that grace the map, there is a possibility to summon one if you have the right tools first. You need to collect Grisha Remnants to have a better chance of having a Grisha spawn, but finding these remnants involves actually beating Grishas in the wild.
So far, there are a handful of Grisha spawn locations that I could find during my time here. Fighting them was a bit challenging, but winning the fight will allocate a Grisha Remnant to the reward pool. Collecting several of them will improve your chances of having a Grisha spawn more frequently and also increase their attack stats.
All Grisha Remnant Locations in Mortal Shell 2
There are currently 10 Grisha Remnants to find, and not all of them require fighting Grishas. You also need to find certain vendors who will sell these remnants to you. The first Grisha Remnant can be picked up after going through the Flooded Village Dungeon.
Grisha Remnant #1 – Flooded Village Dungeon
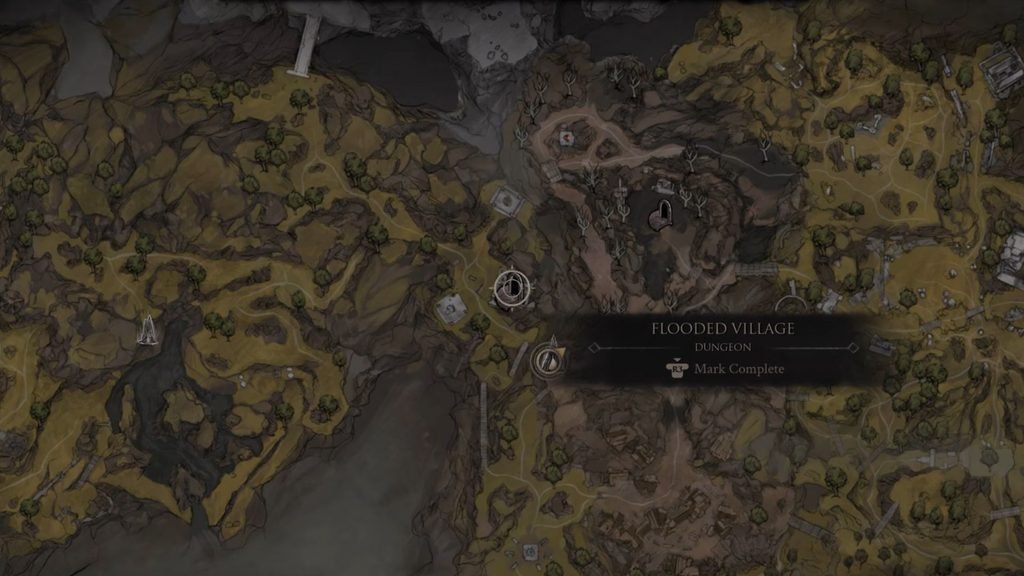
Start at the Blackridge Pass Beacon and make your way northwest. Cross the bridge in front of the beacon while sticking to your right. You will find another bridge on your right that you can cross. In the new area, turn right to find another bridge on your left. Continue down the bridge and down the road until you find a platform with a few stairs.
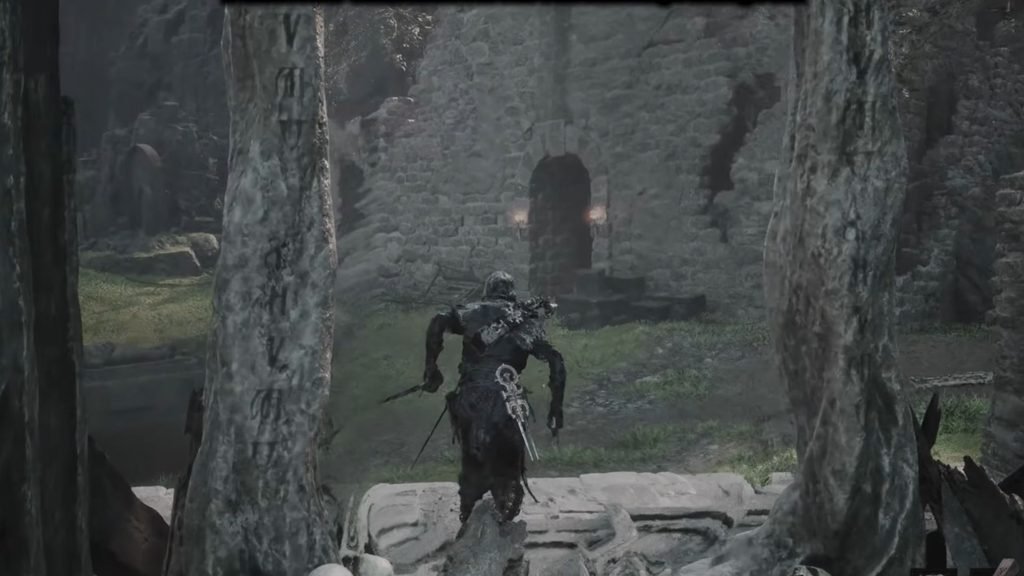
On the platform is the magic archway, but it is boarded up by wooden planks on one side. Go around and break the planks, then go through the archway. The door of the building ahead will now be open. Enter the Flooded Village Dungeon and go down the stairs. Step on the elevator to head down.
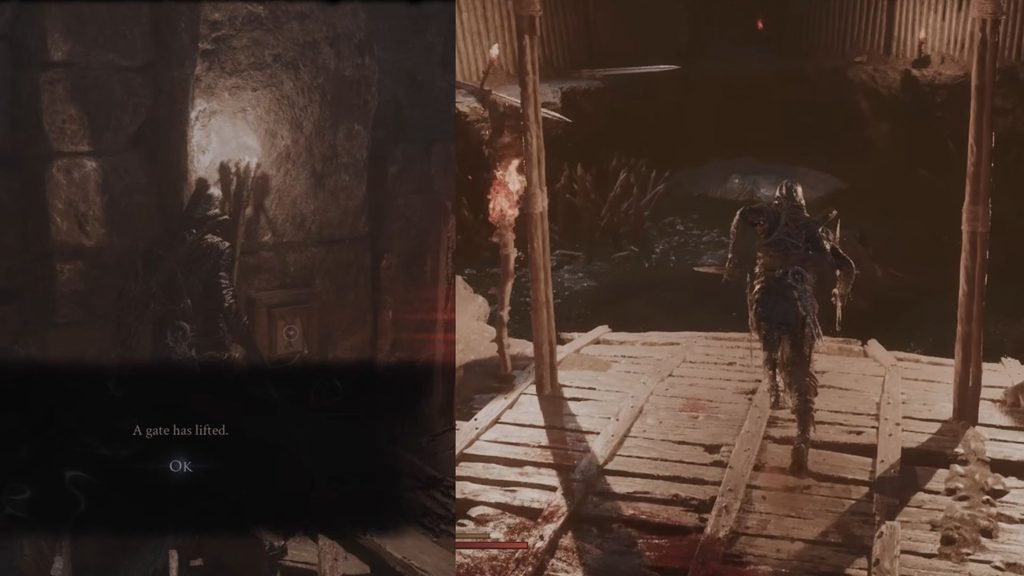
Go down the stairs and immediately go left towards the wooden crates. Break them down to find a lever to pull. Go right and step on the elevator here. In the new area, stick to your right and go around the structures until you find a wooden entryway. Go through it and jump down the hole to find a Grisha. Kill it to get the Remnant.
Grisha Remnant #2 – Gloomshade Grove Beacon
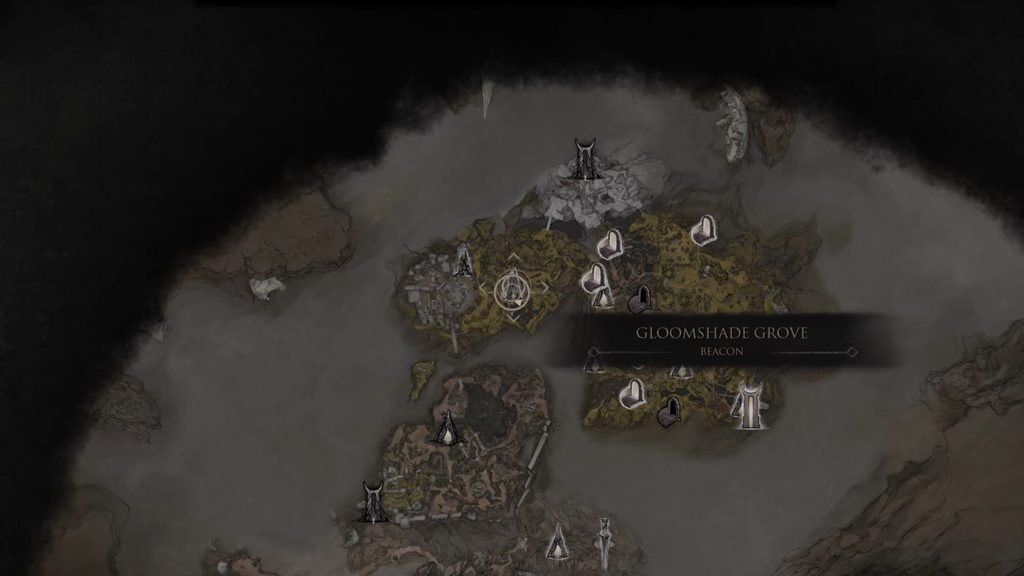
You would have been at the Gloomshade Grove if you were trying to get inside the Citadel of Penance. But did you know that there is a Grisha nearby? In case you missed it, from the beacon, go right to find a rampaging Grisha near the tree. Engage in combat and kill it to get another Remnant.
Grisha Remnant #3 & #4 – Holding Cell Dungeon
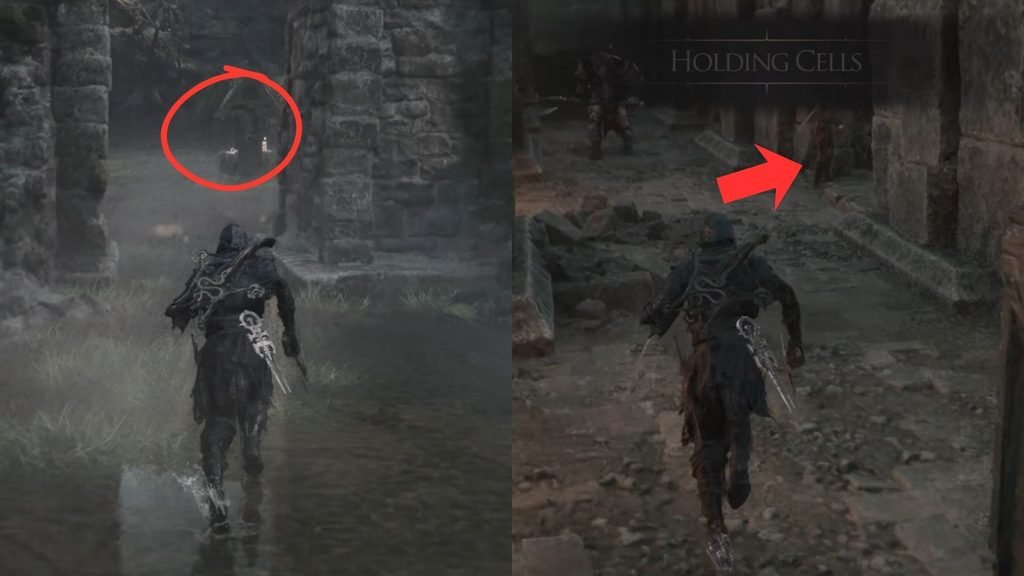
Don’t leave Gloomshade Grove just yet, as there is another Grisha to find inside the Holding Cell Dungeon. From the beacon, make your way to the Citadel of Penance gate. From the gate, go right towards the broken wall and squeeze through the gap. Quickly run past the zombie enemies towards the well in the distance. Interact with the well to drop into the dungeon.
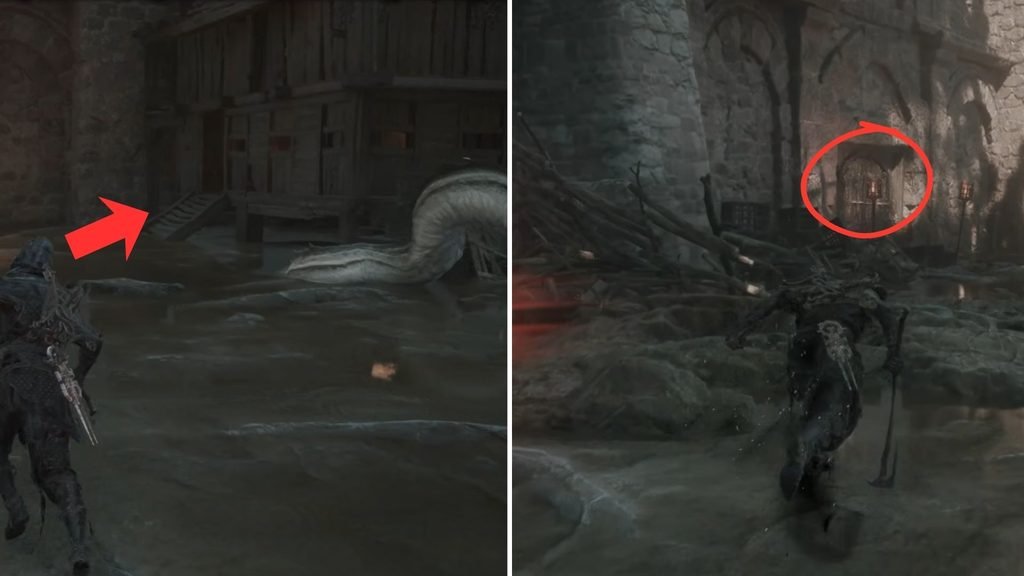
From your spawn point, keep to your right and go through the entryway to drop down. Go straight ahead while sticking to your left. Eventually, you will reach a dead end with a giant eel enemy. Right beside this enemy is a house that you can enter. You will find a Feeding Room Key next to a corpse here.
Exit the house after picking up the key and stick to your left again. You will find a large door where the key can be used. Hop on the elevator and go up, then go through the traversal gate ahead. This will lead you to the arena where the Rabid Grisha Pack boss fight is. There will be two bosses for this fight.
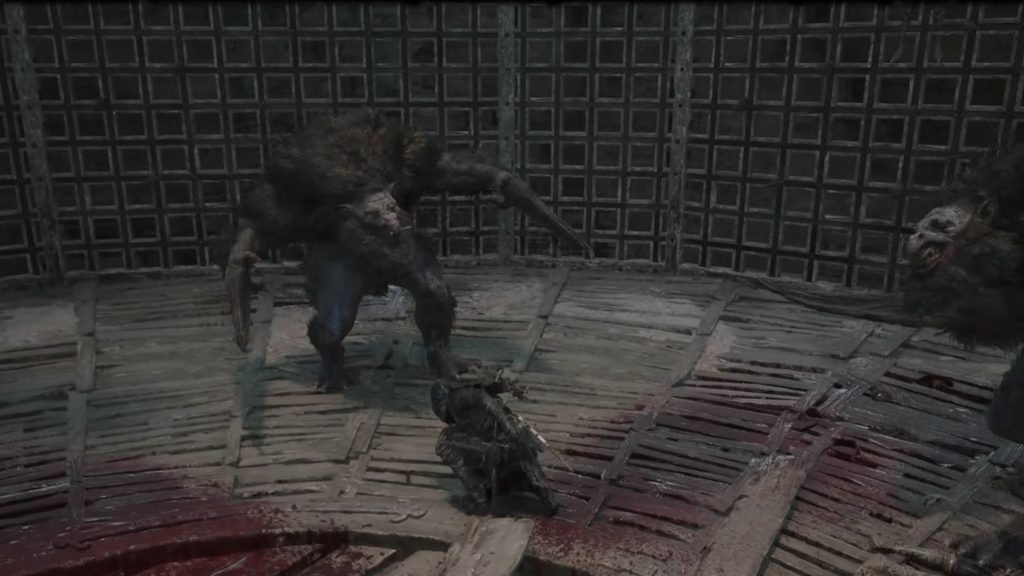
This could be a tricky fight, so I recommend using a quick-wielding weapon like the Black Needle with the Conqueror’s Reward. Most of the bosses’ attacks can be blocked, but since there are two of them, you need to pick your battles.
Keep your distance and use any ranged sidearm like the Balistazooka to avoid their sweeping attacks, then dodge-roll behind one of them and hit them. Take them one at a time, as it will be easier this way. Killing them both will reward you with two Remnants and the Inflamed Clawstone tarstone.
Also Read: Mortal Shell 2 Rotten Autumn – All 15 New Dungeons Location Guide
Grisha Remnant #5 – Grisha Hunting Grounds
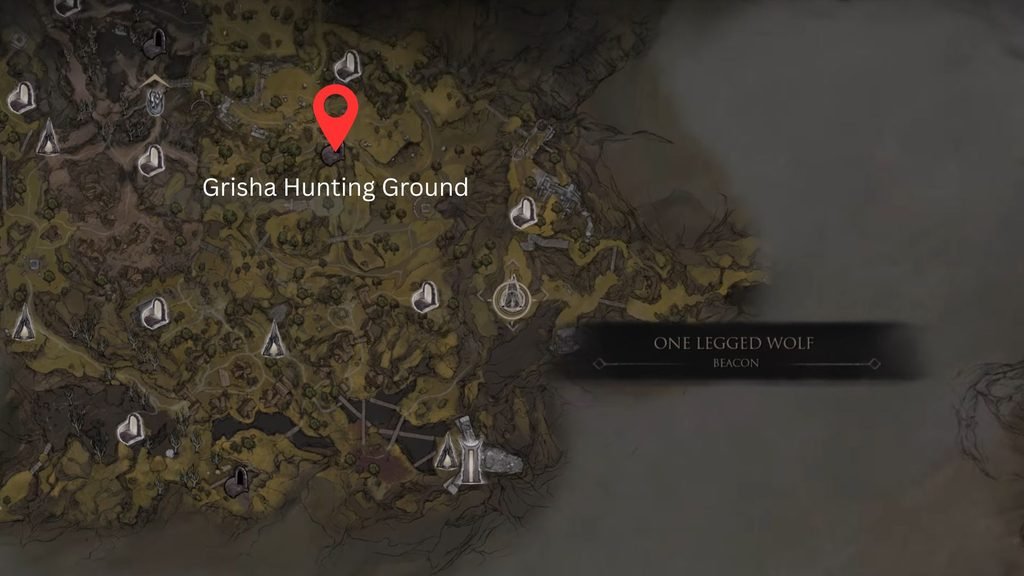
The next Remnant will drop after defeating the Pale Grisha. To find it, from the One-Legged Wolf beacon, make your way northwest to find the Grisha Hunting Grounds. The path to the Grisha Dungeon is pretty straightforward; you can’t miss the cave entrance to it.
Navigate the dungeon as you normally would and take the elevator down. Follow the linear path to find the Pale Grisha boss. Defeating it is quite easy, as any heavy weapon like the Great Martyr’s Blade will work here. Defeating it will drop the fifth Remnant.
Grisha Remnant #6 – Conquered Temple Gate
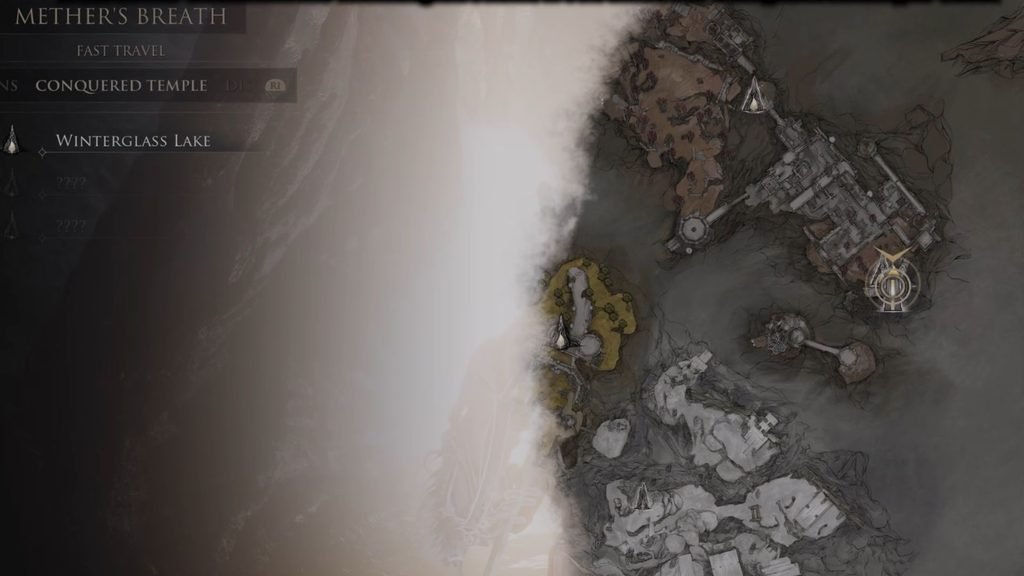
You need to cleanse the Winterglass Lake beacon first to access the Conquered Temple Gate. Enter the beacon to cleanse it and make your way to Mornefrost Grave. At the dead end, turn right and go through the archway.
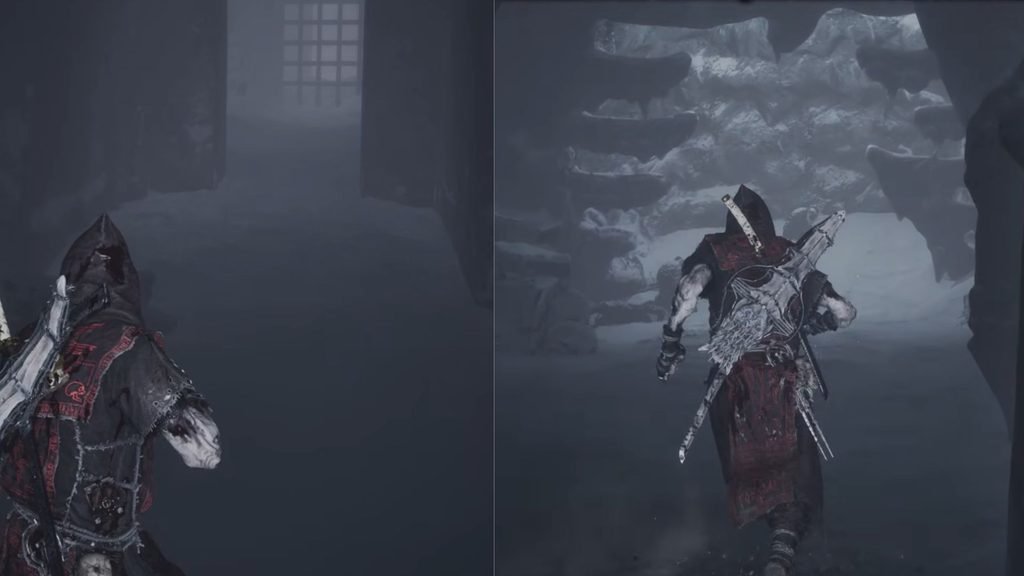
Go straight ahead, turn right, then turn left. Stick to your right after that to find an enclosure. Pick up the Immaculate Crown item from the corpse here, then head back out.
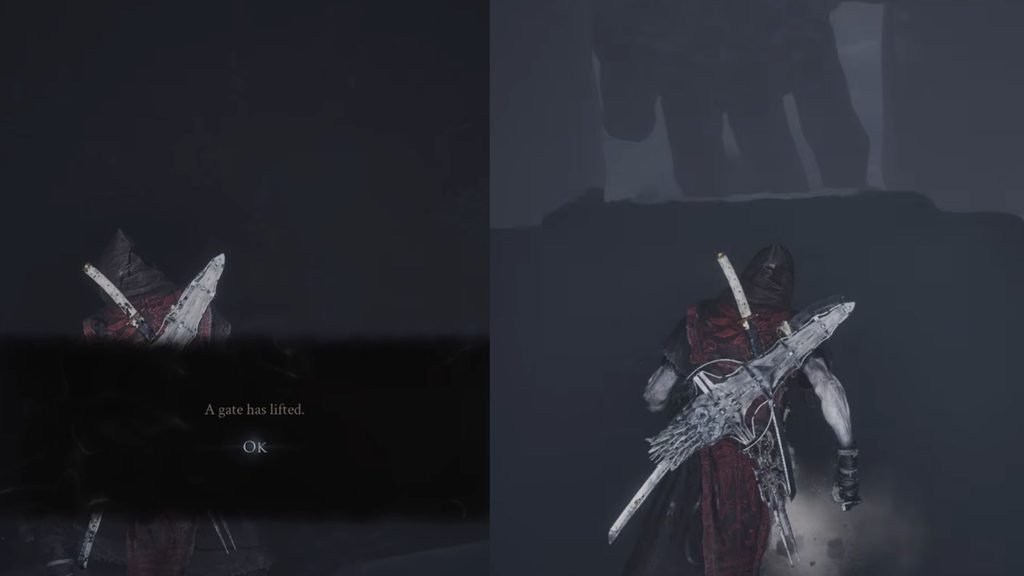
Go straight towards the gate ahead and activate the lever beside it to unlock it. You will circle back to the main area. Turn right and go through the newly unlocked area to find the Grisha. Not only will you get the Remnant, but you will also get Fusillade Stone, some Gloom, and Coins.
Grisha Remnant #7 – Withered Shoals Gate
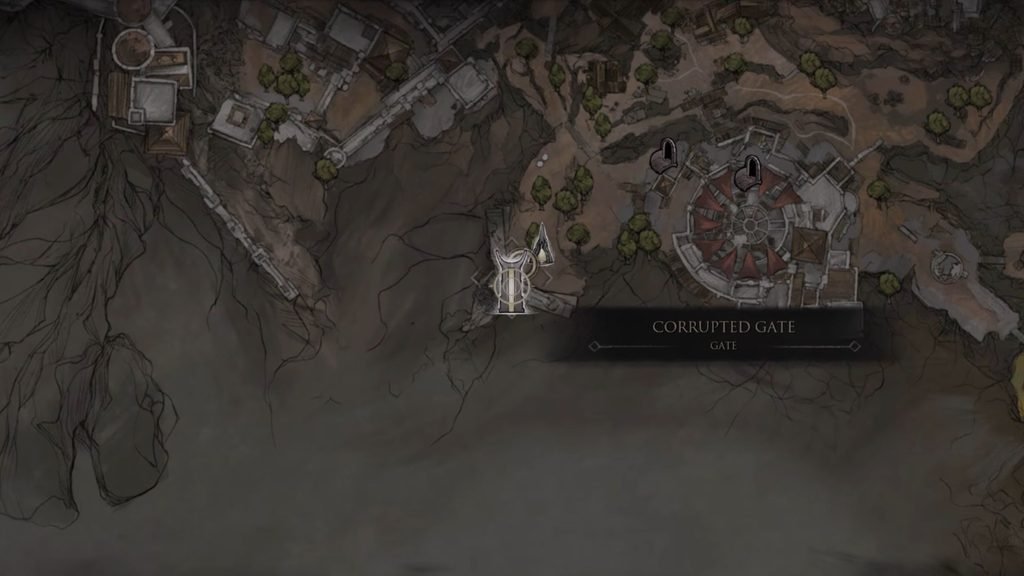
Enter the Withered Shoals corrupted gate and head down the linear path. At the very end of the arena is a transversal gate which will take you to the Strange Grisha mini boss. This Grisha enemy will deal attacks like most regular Grishas, but will also add Stasis attacks in between.
Keep your distance using a sidearm and go in with any of your best upgraded melee weapon to tear it down. You will get the seventh Grisha Remnant after the fight, along with the Strange Remnant tarstone.
Grisha Remnant #8 – Desolate Keep
Make your way to Marrow Keep and collect the Slayer’s Seal first. Do not equip it, as doing so will disable achievement collection. Just keep it on you, then make your way towards Sester Genessa’s location. Head down the wooden ramp where the row of white coffins is, then turn left. Keep going straight towards the torchlight, then look to your left to find a wall marked with a white arrow.
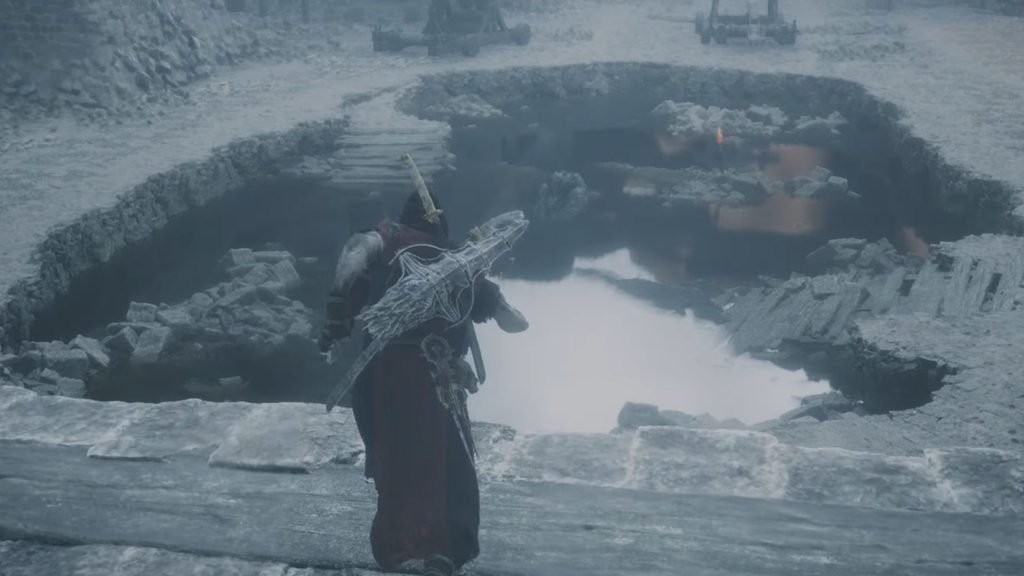
Hit the wall to enter the secret chalice room. Hit the chains attached to the chalice to break them, then interact with the chalice itself. This will take you to the Desolate Keep. From here, make your way towards the pool where the giant eel is, then go right up the ramp. Jump down to find a Grisha in the pool ahead. Kill it to get the Remnant.
Hack: There is currently a bug that respawns this particular Grisha each time you rest at a beacon. This is a great way to farm Grisha Remnants if required.
Grisha Remnant #9 – Purchase from Hunter Camp Merchant
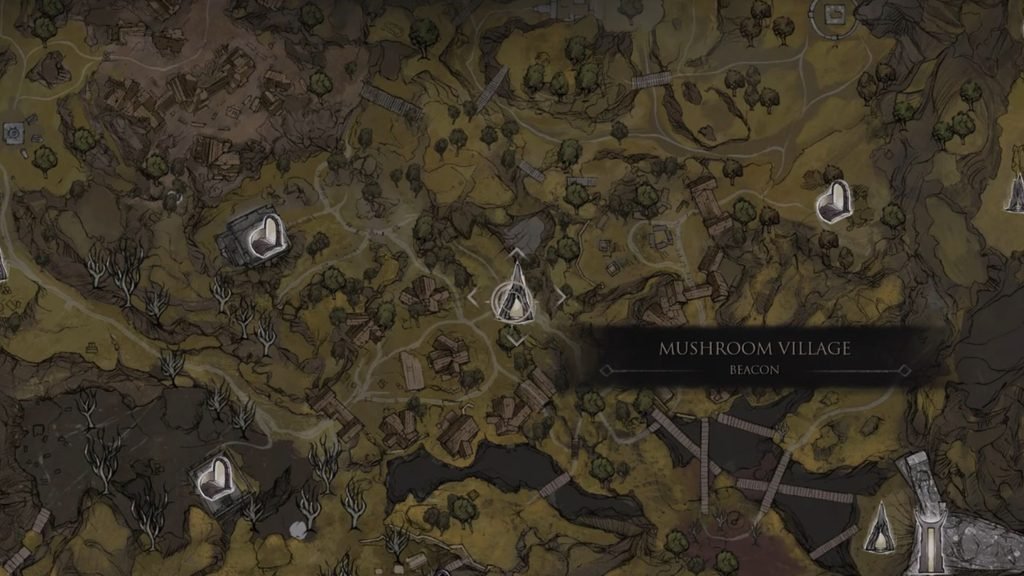
You will find this merchant inside Mushroom Village. From the Mushroom Village beacon, turn right and go through the archway, then go left to find the Grisha Hunter camp. Interact with the Merchant here to purchase the Remnant for 2,000 coins. This option won’t be available if you had freed the Grisha Pup earlier.
Grisha Remnant #10 – Grisha Matron
As mentioned in the earlier section, you will find a Grisha Pup to free as part of its quest. After freeing it, rest at the Mushroom Village beacon and return to the camp. This time, you will find the Grisha Pup with the Grisha Matron.
This Grisha is not hostile unless provoked, and it would be a missed opportunity if you let this one go. The only problem is, this particular Grisha is overpowered. I recommend returning to this location after obtaining Eredrim and upgrading all your weapons and sidearms at the Tarforge.
Grisha Remnant Use
A Grisha Remnant can be placed as a passive or active item, and whichever you pick will give a unique ability. You can increase the Remnant Tier by picking up more Remnants in the overworld.
- As a passive item, your melee attacks can trigger a Grisha spawn. Tier 1 and Tier 2 of the Remnant will offer a 2% and 4% increase in spawn rate respectively. At Tier 3, the spawn rate will correspond to the number of Remnants collected.
- As an active item, a Grisha can be summoned anytime. Tier 2 Remnant will offer one additional use chance per rest. Tier 3 of the Grisha Remnant will increase the damage output of the Grisha corelating to the number of Remnants collected.
